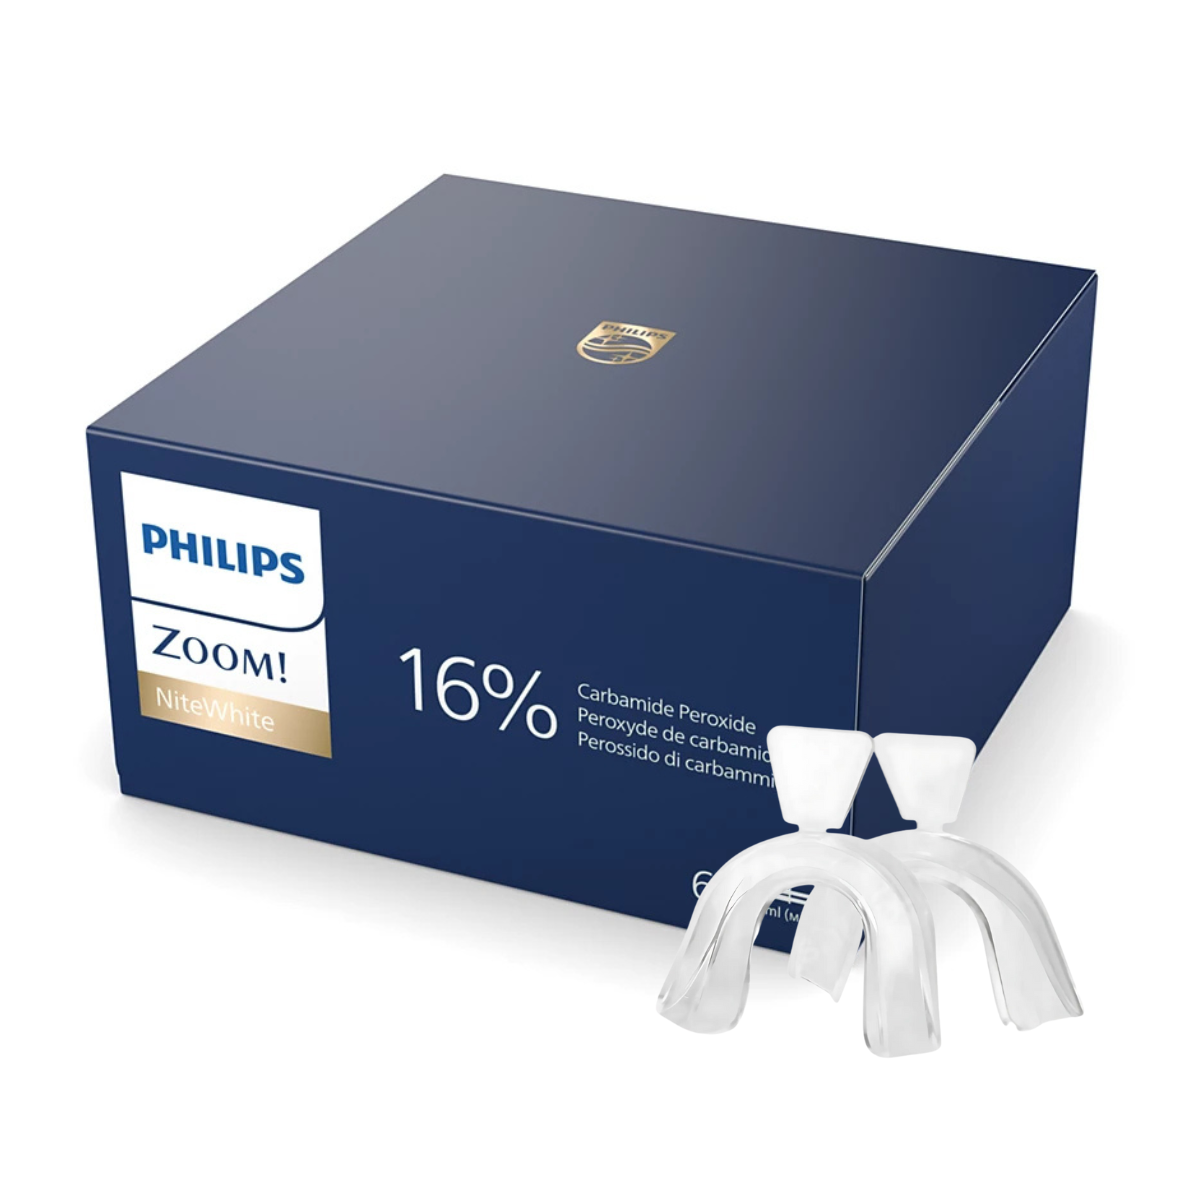
Philips Zoom At-Home Starter Kit – NiteWhite 16% CP
Philips Zoom At-Home Starter Kit – NiteWhite 16% CP
Couldn't load pickup availability
Philips Zoom At-Home Starter Kit – NiteWhite 16% CP
Product Description
Philips Zoom NiteWhite 16% CP is a professional teeth whitening kit designed for home use, developed by specialists in cosmetic dentistry. The product contains 16% carbamide peroxide (CP), which effectively removes stains and restores the natural whiteness of teeth in a safe and controlled way.
This starter kit has been created for dental practices as well as for patients who wish to begin their whitening treatment conveniently at home.
Benefits & Advantages
-
Effective whitening – visible results after just a few applications.
-
Safety – the specially developed formula minimizes the risk of tooth sensitivity and gum irritation.
-
Overnight use – designed to be worn during sleep (on average 4–6 hours).
-
Professional standard – the Philips Zoom system is one of the most frequently recommended whitening methods by dentists worldwide.
-
Complete starter set – ideal for beginning treatment or testing the product before purchasing larger packs.
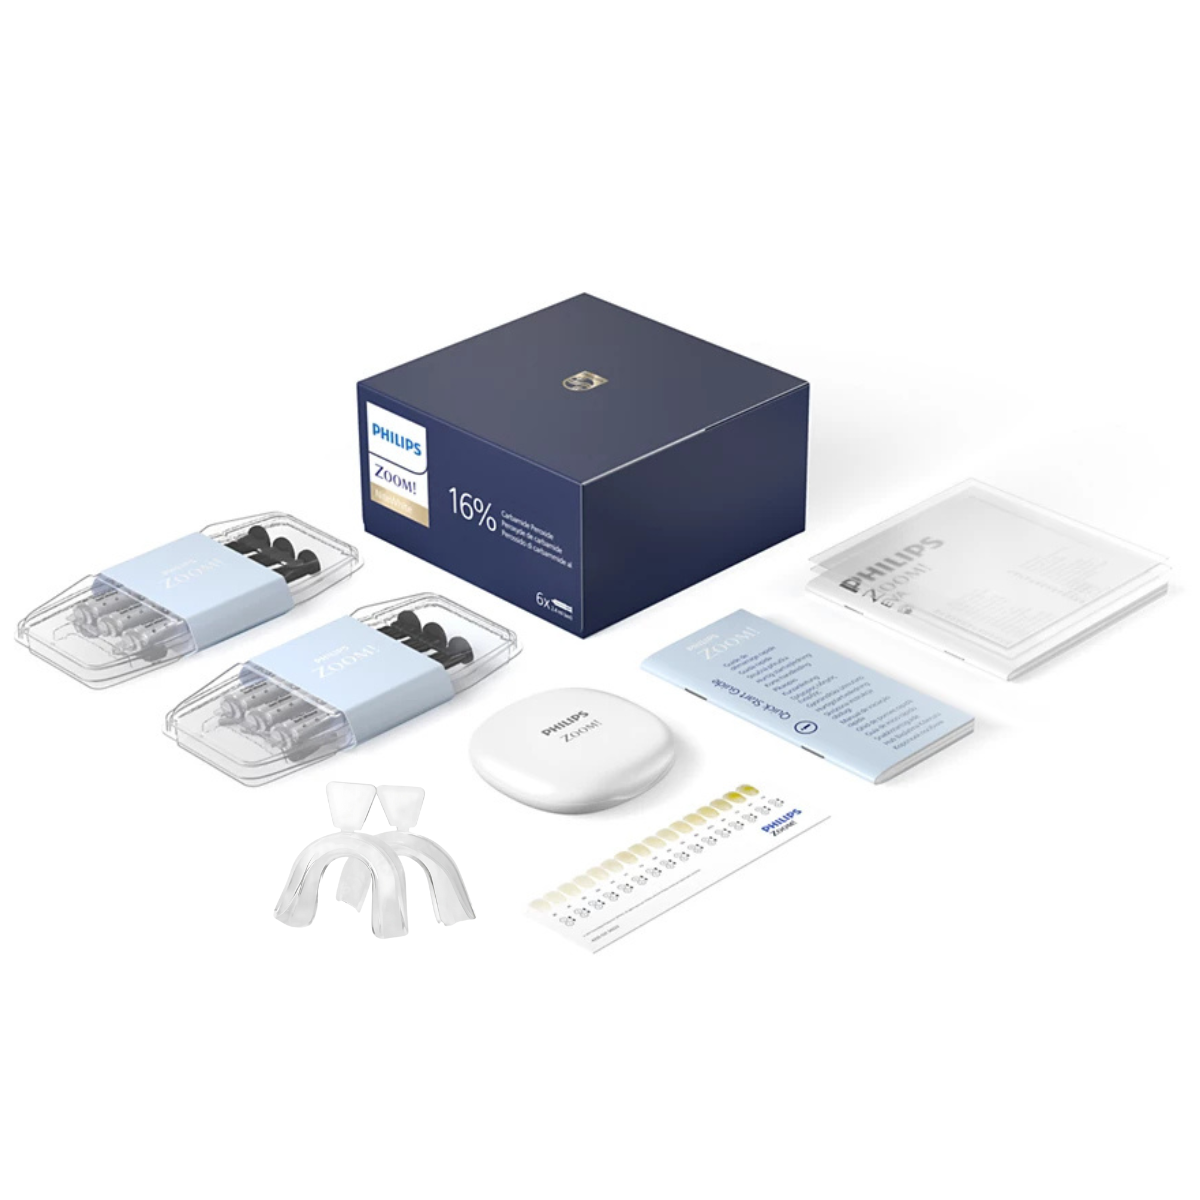
Kit Contents
-
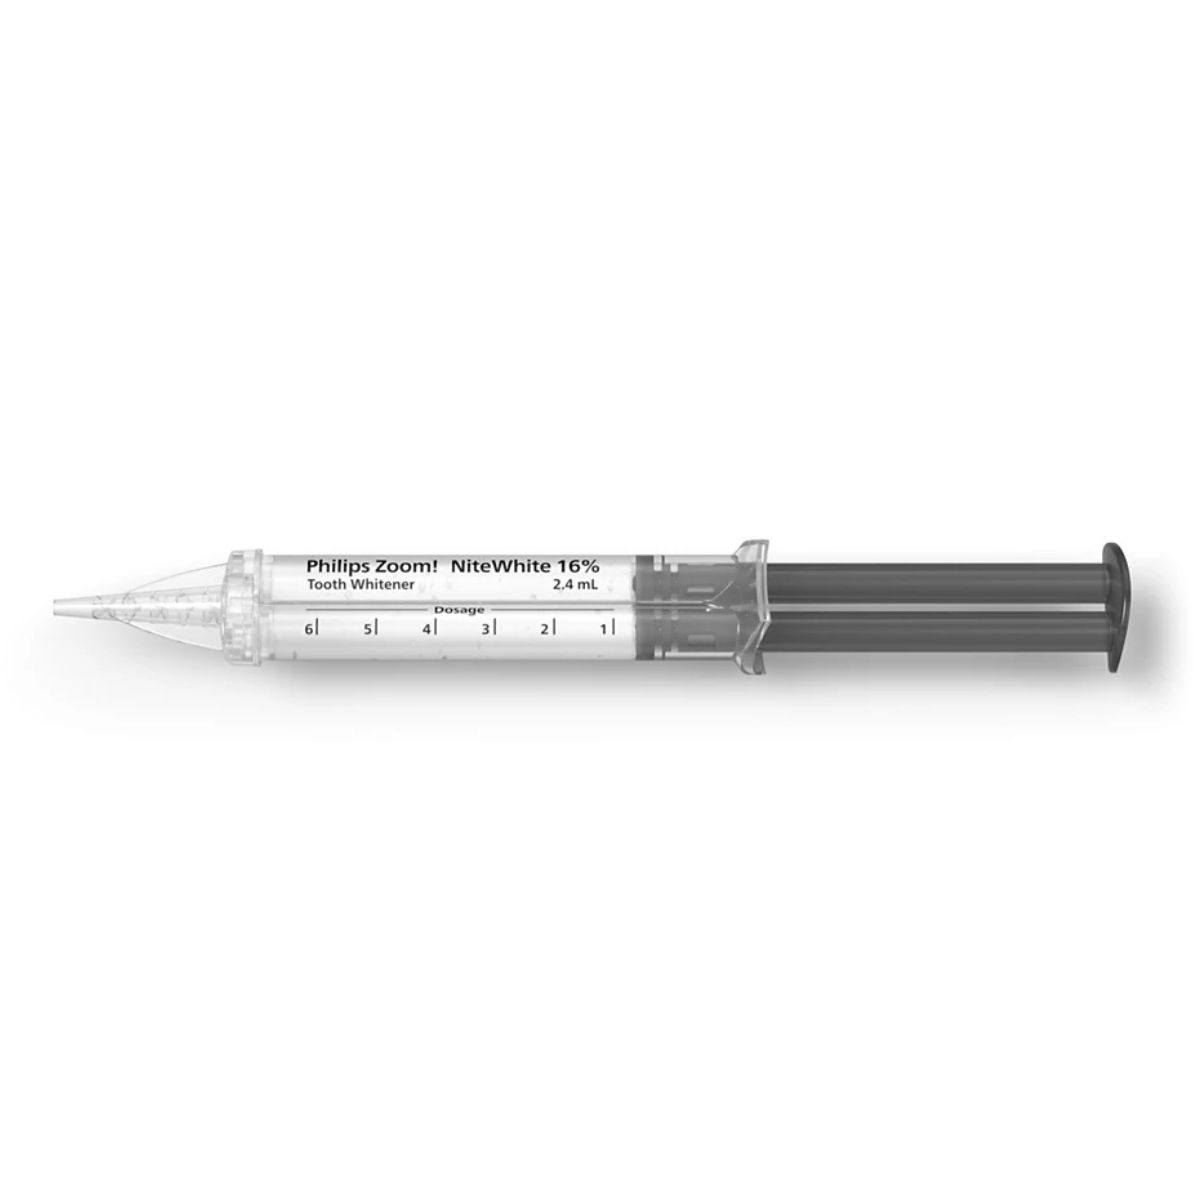
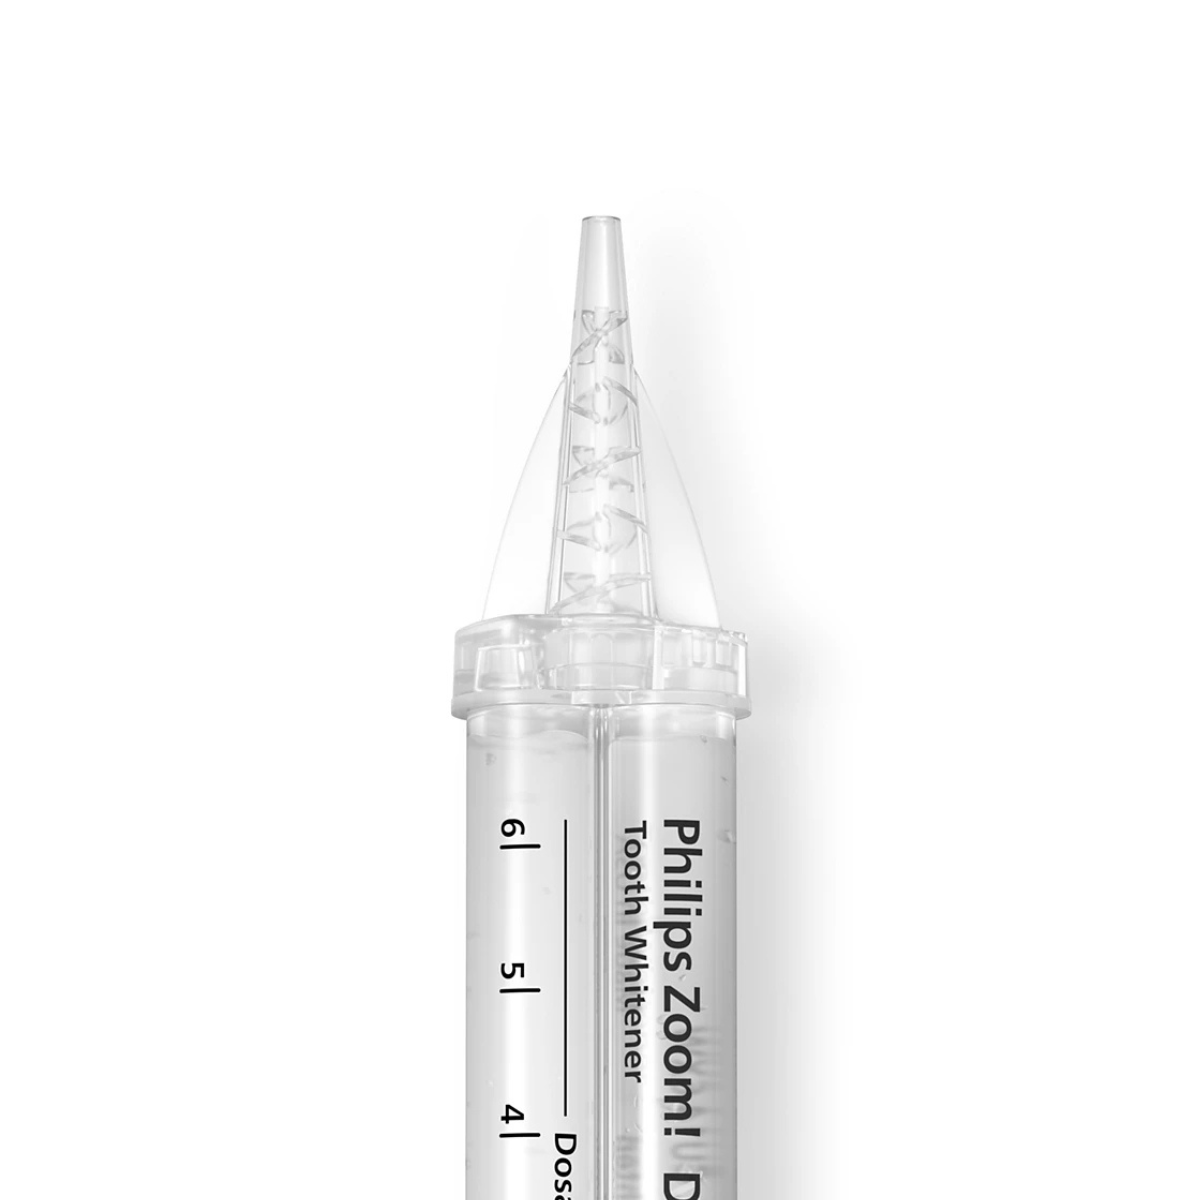
6 syringes with Philips Zoom NiteWhite 16% CP whitening gel (approx. 3 applications per syringe)
-
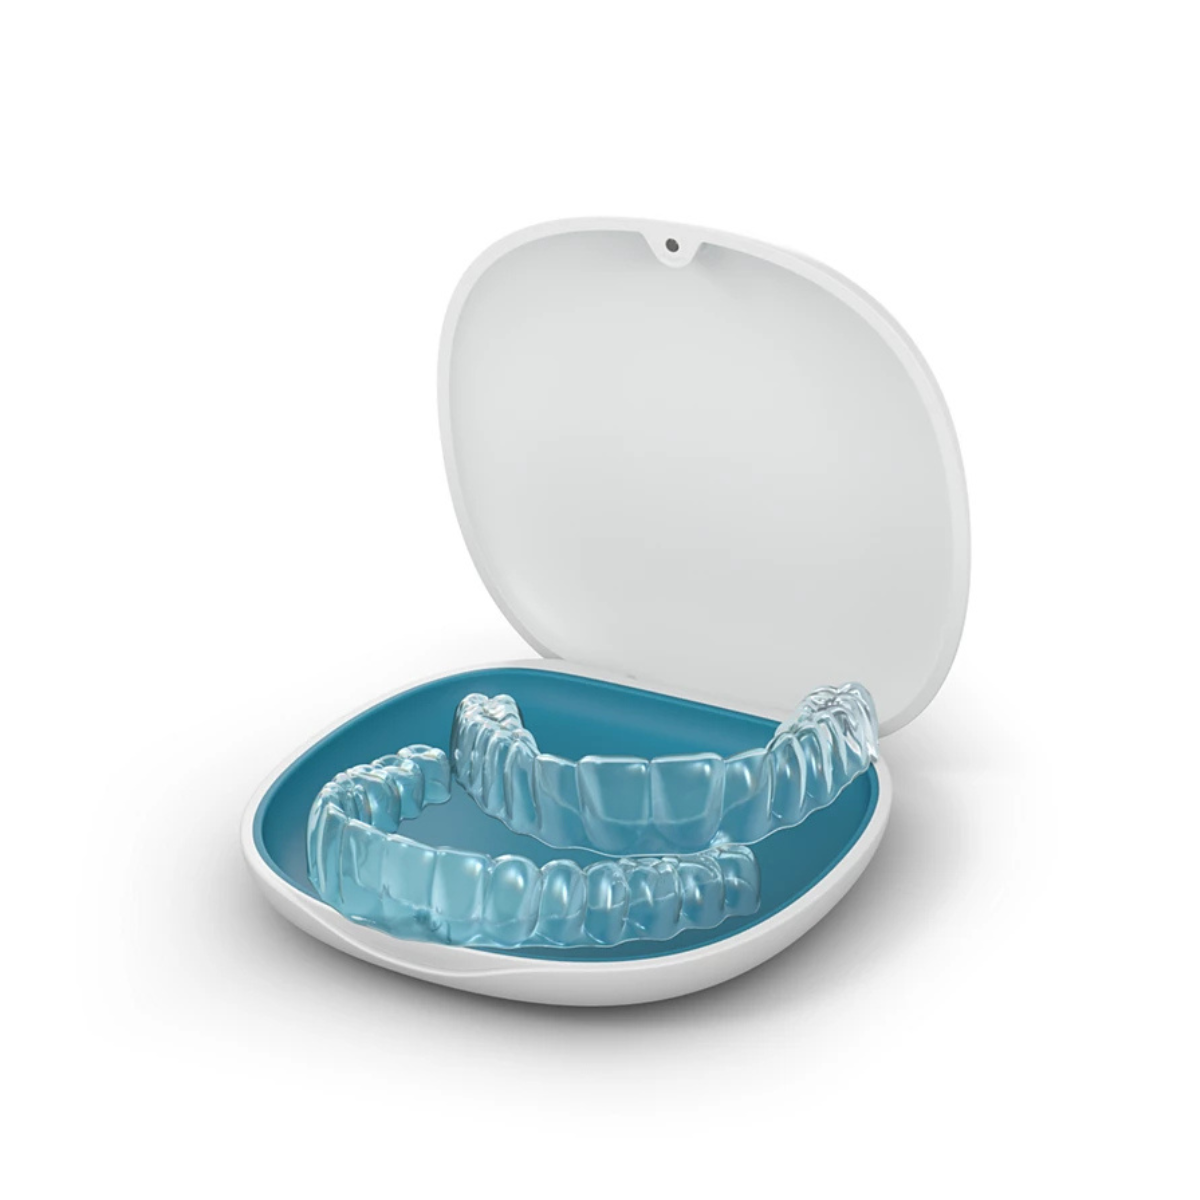
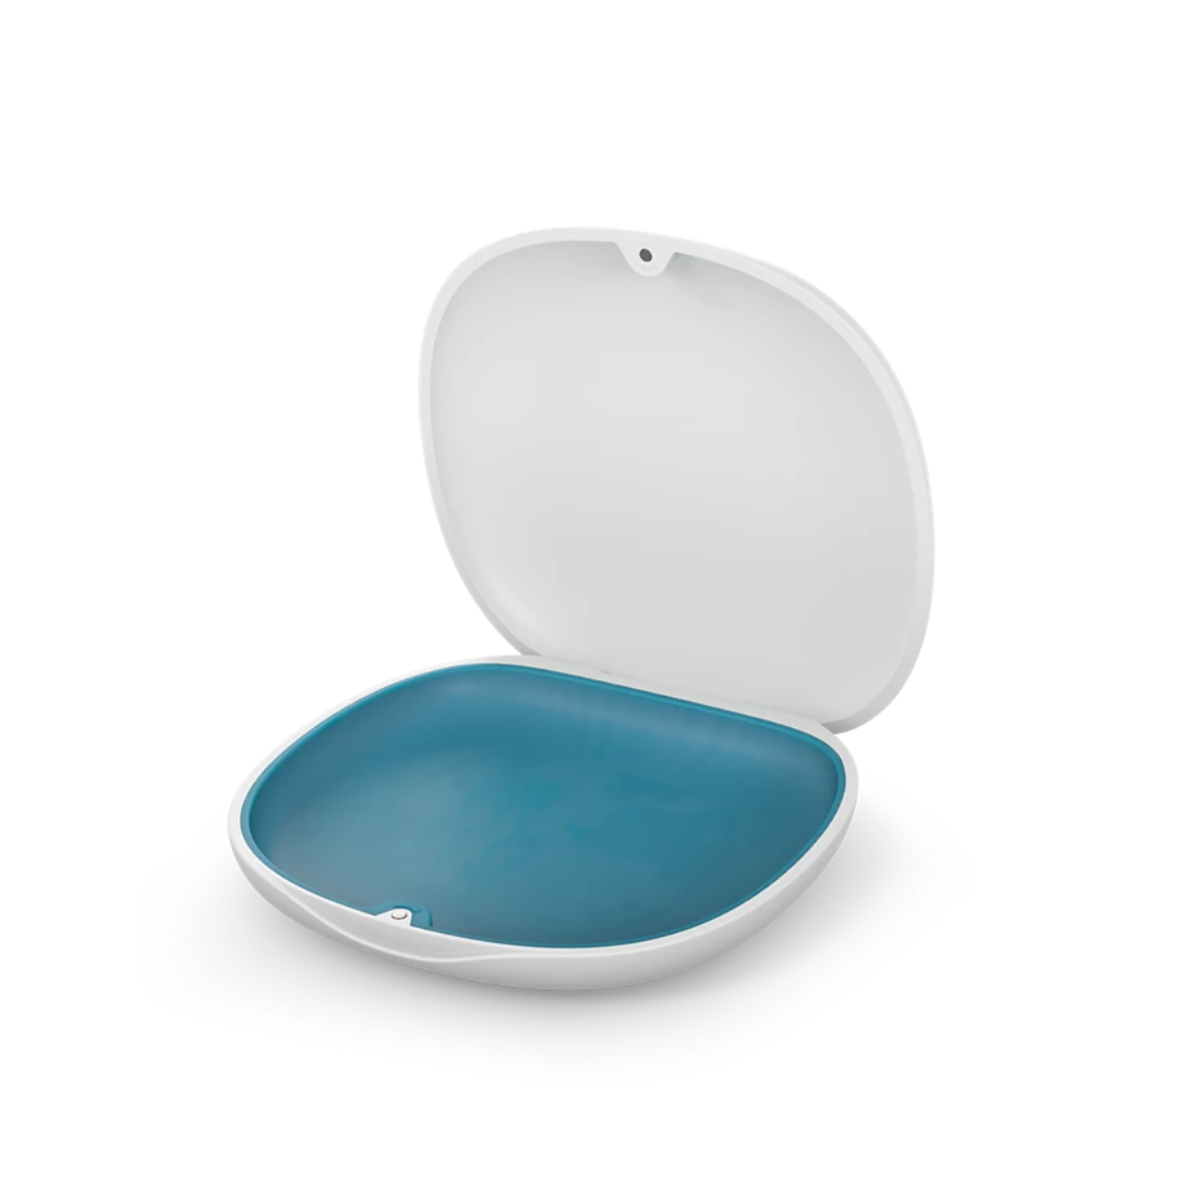
Storage case for trays (dental aligners)
-
Tooth shade guide
-
User manual
-
Additional patient information materials
Directions for Use
-
Apply a thin layer of gel into the customized tray.
-
Place the tray over your teeth and leave it on overnight (4–6 hours).
-
After the treatment, remove the tray, rinse your mouth, and clean the tray with water.
-
Use as directed by your dentist – typically for 1–2 weeks.
Tray Instructions
1. Adjusting the trays
-
If the trays are too long, trim them with scissors.
-
Soften the tray in warm water for 5–10 seconds until it becomes flexible.
-
Immediately place it on your teeth.
-
Press with fingers and tongue to ensure it fits snugly to the shape of your teeth.
2. Hardening and fit check
-
After a few seconds, the tray will harden and take the shape of your teeth.
-
If the fit is not ideal, reheat and reshape the tray.
3. Applying the whitening gel
-
Place a small amount of whitening gel inside the tray.
-
Position the tray on your teeth.
-
Leave it on for the time specified in the gel instructions (usually 4–6 hours overnight).
4. Cleaning and storage
-
After whitening, rinse the tray thoroughly with lukewarm water.
-
Store it in a clean, dry place, preferably in the provided case.
Share